Custom Cabinetry for San Mateo Homes: From Planning to Installation
Custom cabinetry can transform how a San Mateo home functions, but the finished result depends on decisions made long before installation. Layout, appliances, storage, materials, lighting, stone, and construction conditions all influence the cabinetry.
Whether the project involves a kitchen remodel, new construction, or cabinetry throughout several rooms, the process works best when cabinetry is treated as part of the architecture from the beginning. Here is how that process moves from initial planning through installation.
Step 1: Start With the Home and the Way You Live
Every cabinetry project should begin with the existing architecture and the household’s needs. In a remodel, that means understanding ceiling heights, windows, flooring, structural conditions, plumbing, and connections to surrounding rooms. In new construction, there is more flexibility to develop those conditions alongside the cabinetry.
Function comes next. In a kitchen, consider cooking, entertaining, pantry storage, small appliances, cleanup, and seating. For bathrooms, wardrobes, offices, bars, laundry rooms, or media spaces, the cabinetry should respond to the specific objects and activities the room needs to accommodate.
These decisions create the foundation for the cabinetry plan before finishes become the focus.
Step 2: Develop the Cabinetry Layout
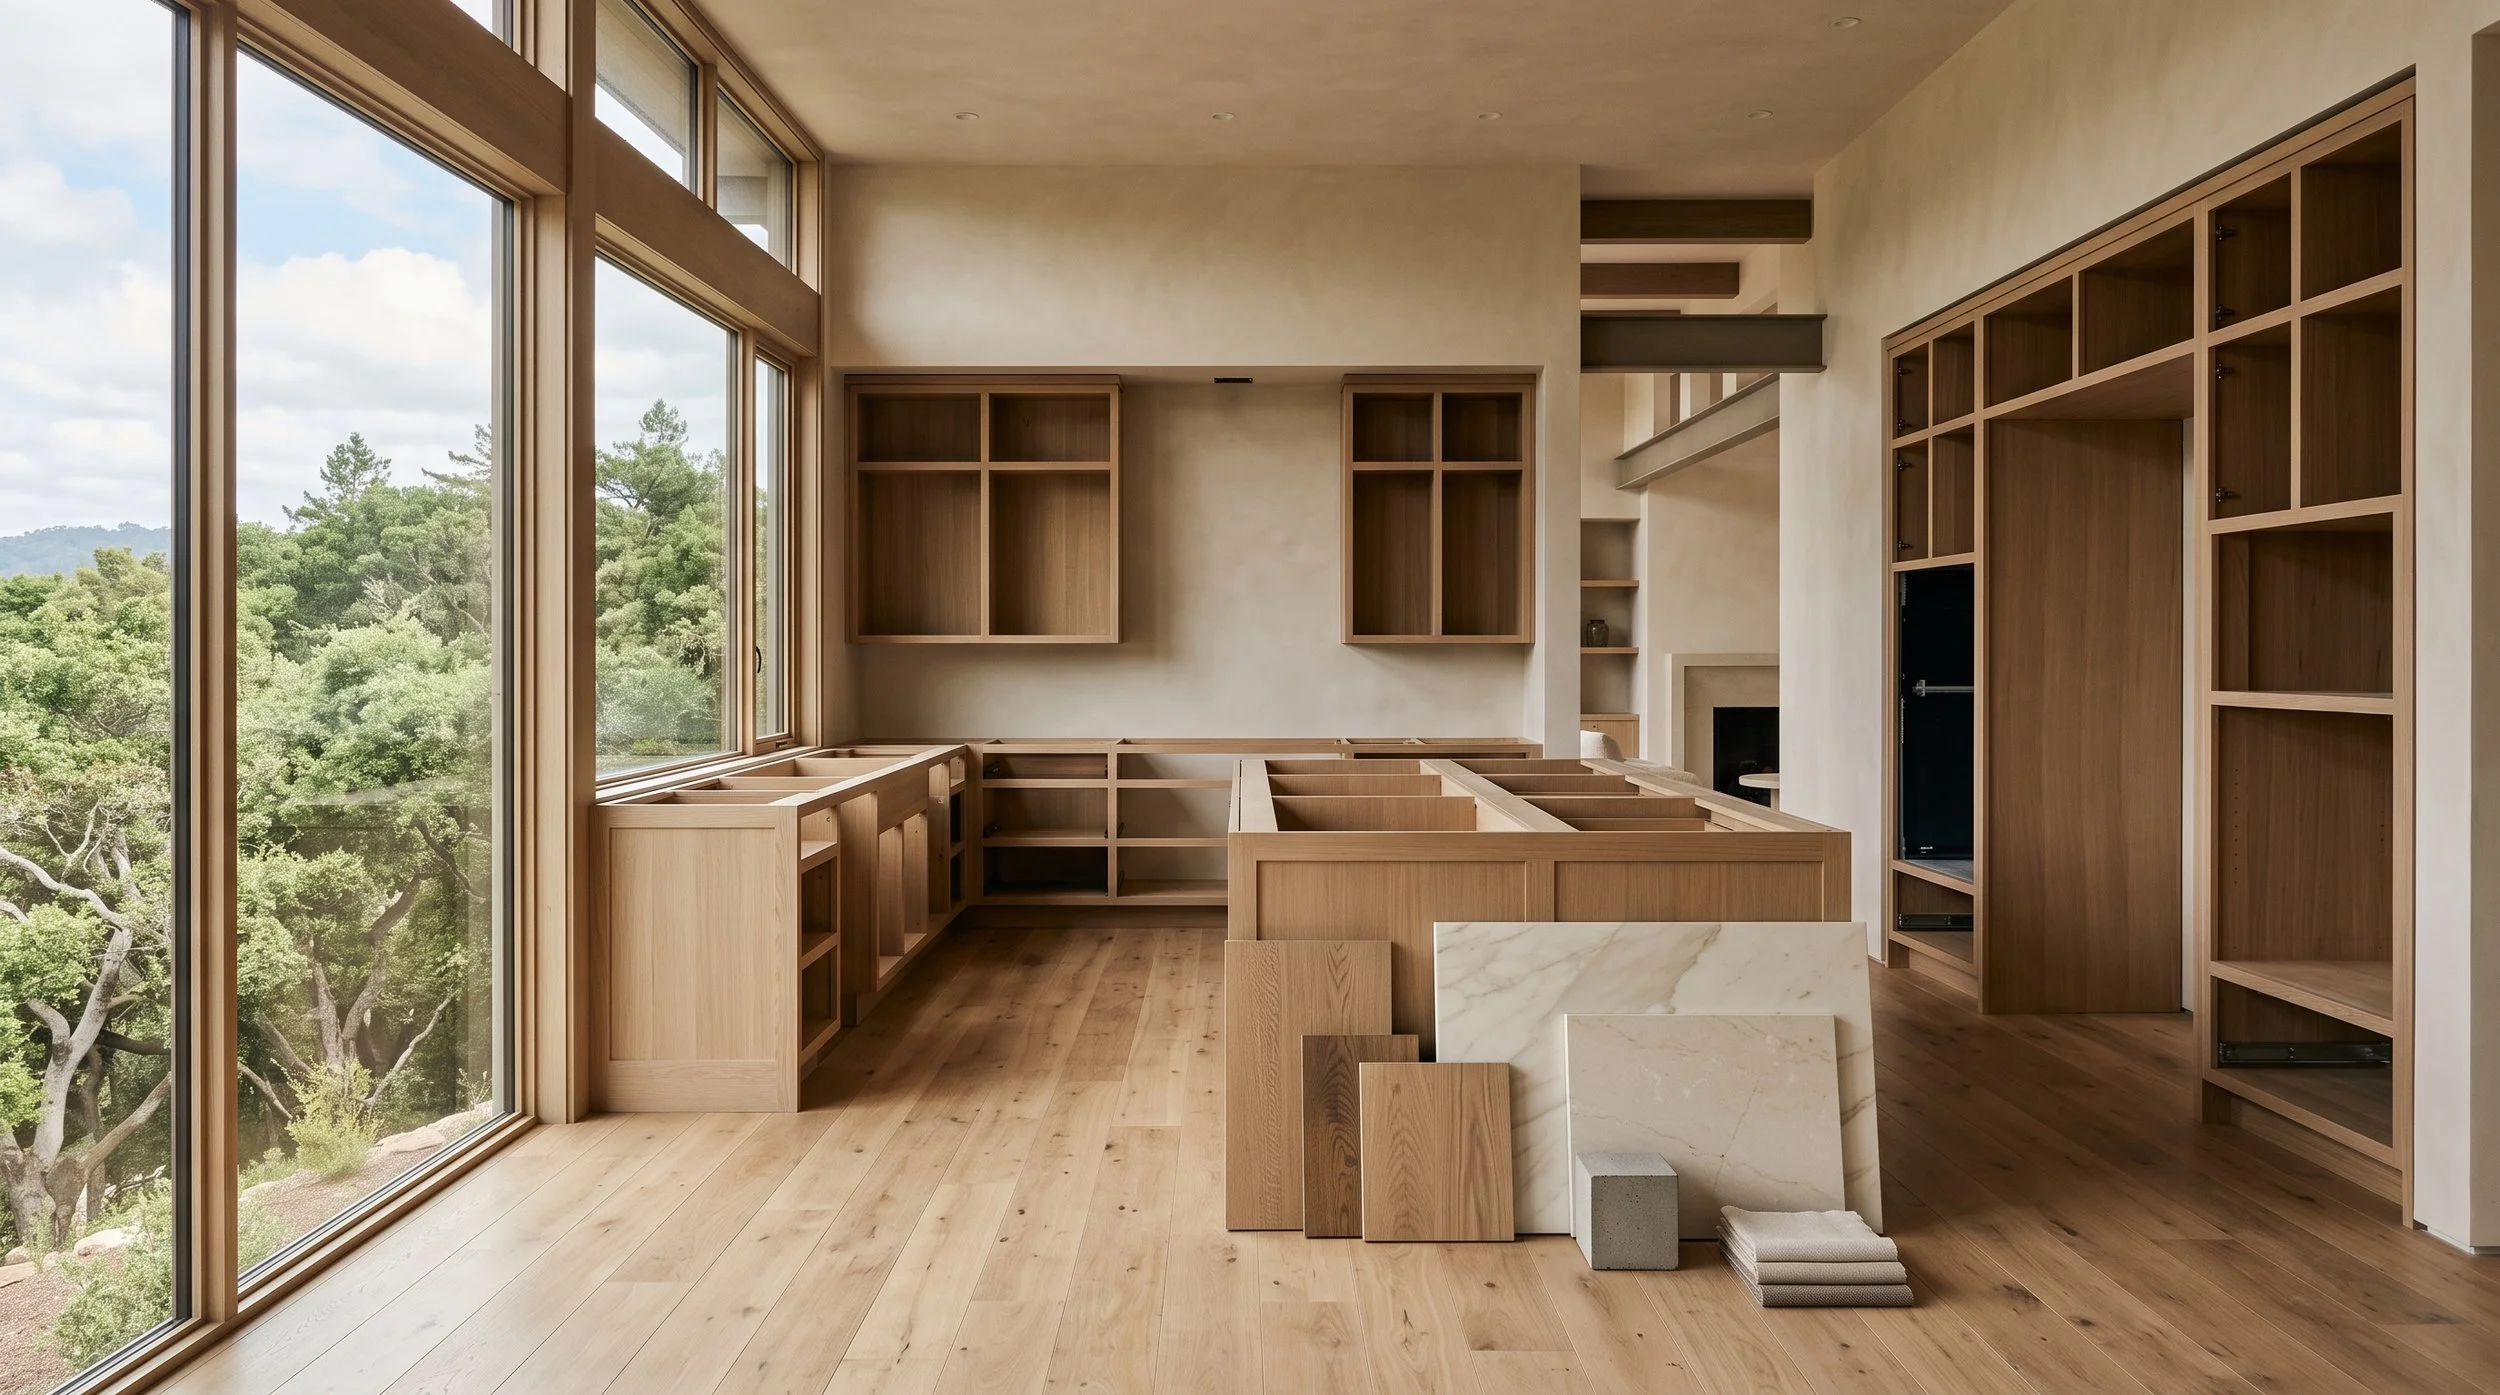
Once the project requirements are clear, the cabinetry layout can develop. This is where proportions, circulation, storage, appliances, and architectural relationships begin working together.
In a kitchen, determine the location of refrigeration, cooking, cleanup, pantry storage, and the island. Avoid filling walls simply because space is available. A combination of cabinetry and intentional negative space can make the room feel more architectural.
The same principle applies elsewhere. A bathroom vanity should relate to mirrors and lighting. Office cabinetry should work with windows and technology. Wardrobes should reflect actual storage requirements. The objective is to make cabinetry feel designed for its specific room rather than applied afterward.
Step 3: Confirm Appliances and Technical Requirements
Appliance specifications should be established before final cabinetry dimensions. Refrigeration, ranges, ovens, dishwashers, wine storage, ventilation, and other built-in equipment can affect cabinet sizes and utility locations.
Plumbing, electrical, lighting, ventilation, and other construction requirements should also be coordinated with the cabinetry elevations. This is particularly important for integrated appliances, interior cabinet lighting, concealed outlets, and full-height cabinetry.
Early coordination gives the project team time to resolve conflicts before fabrication begins.
Step 4: Select Cabinetry Materials and Finishes
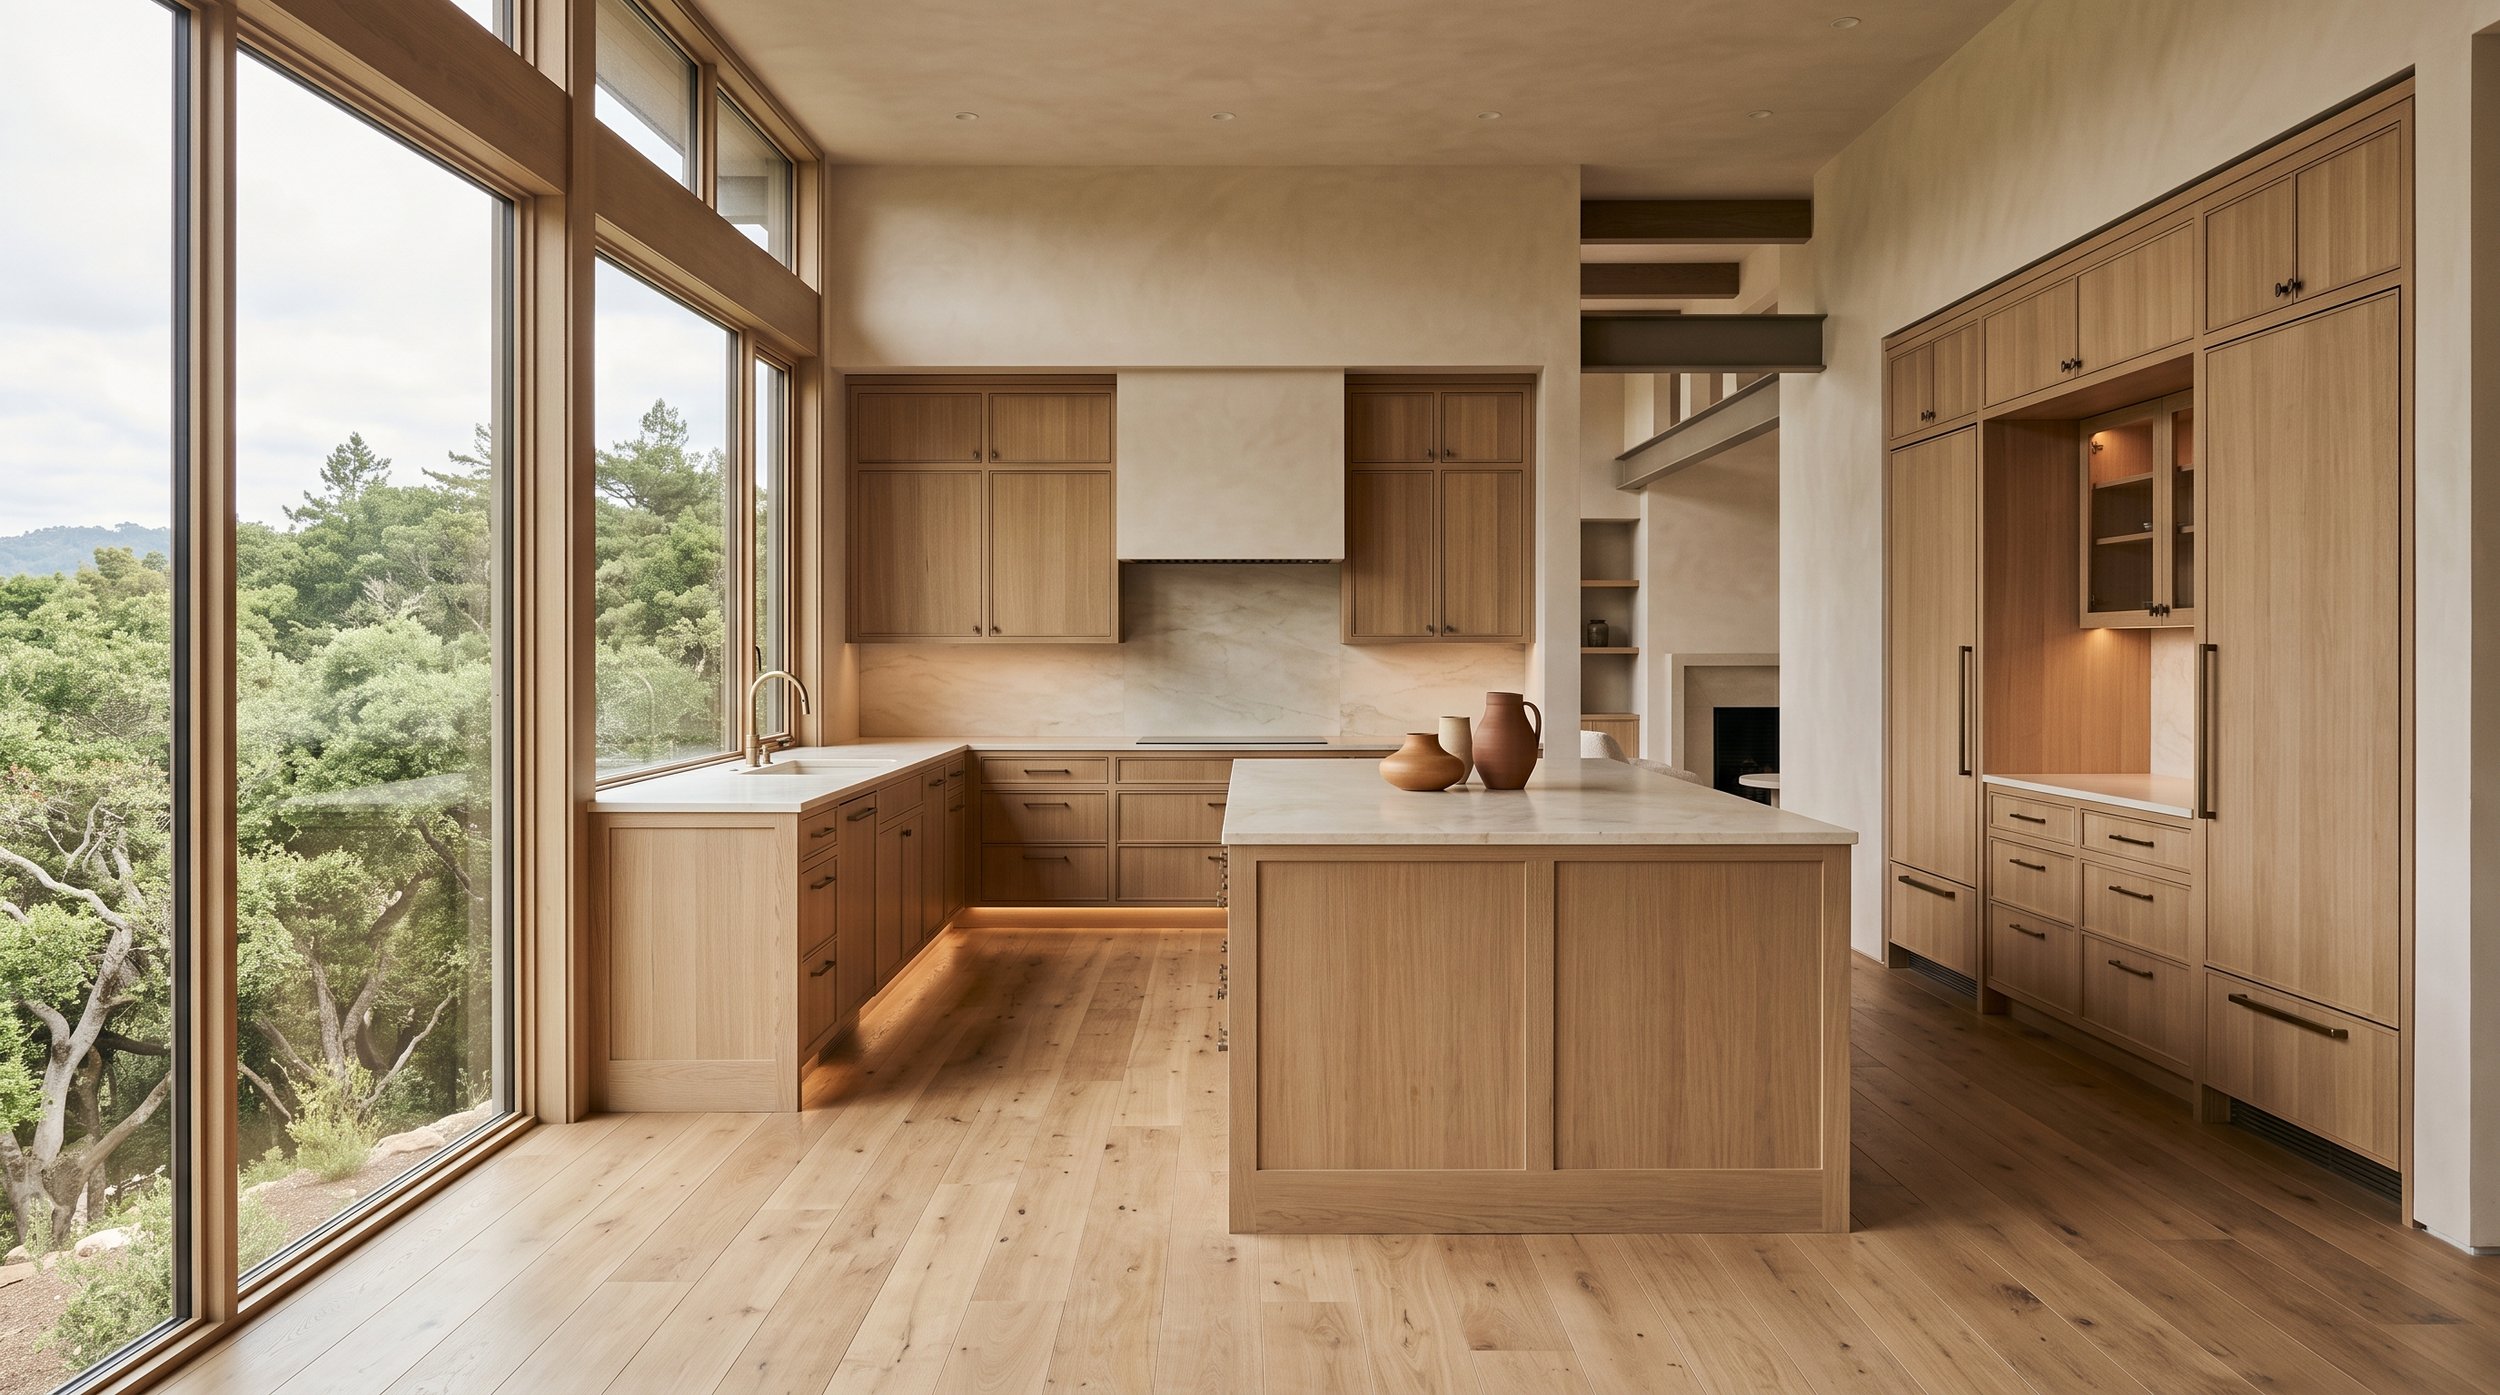
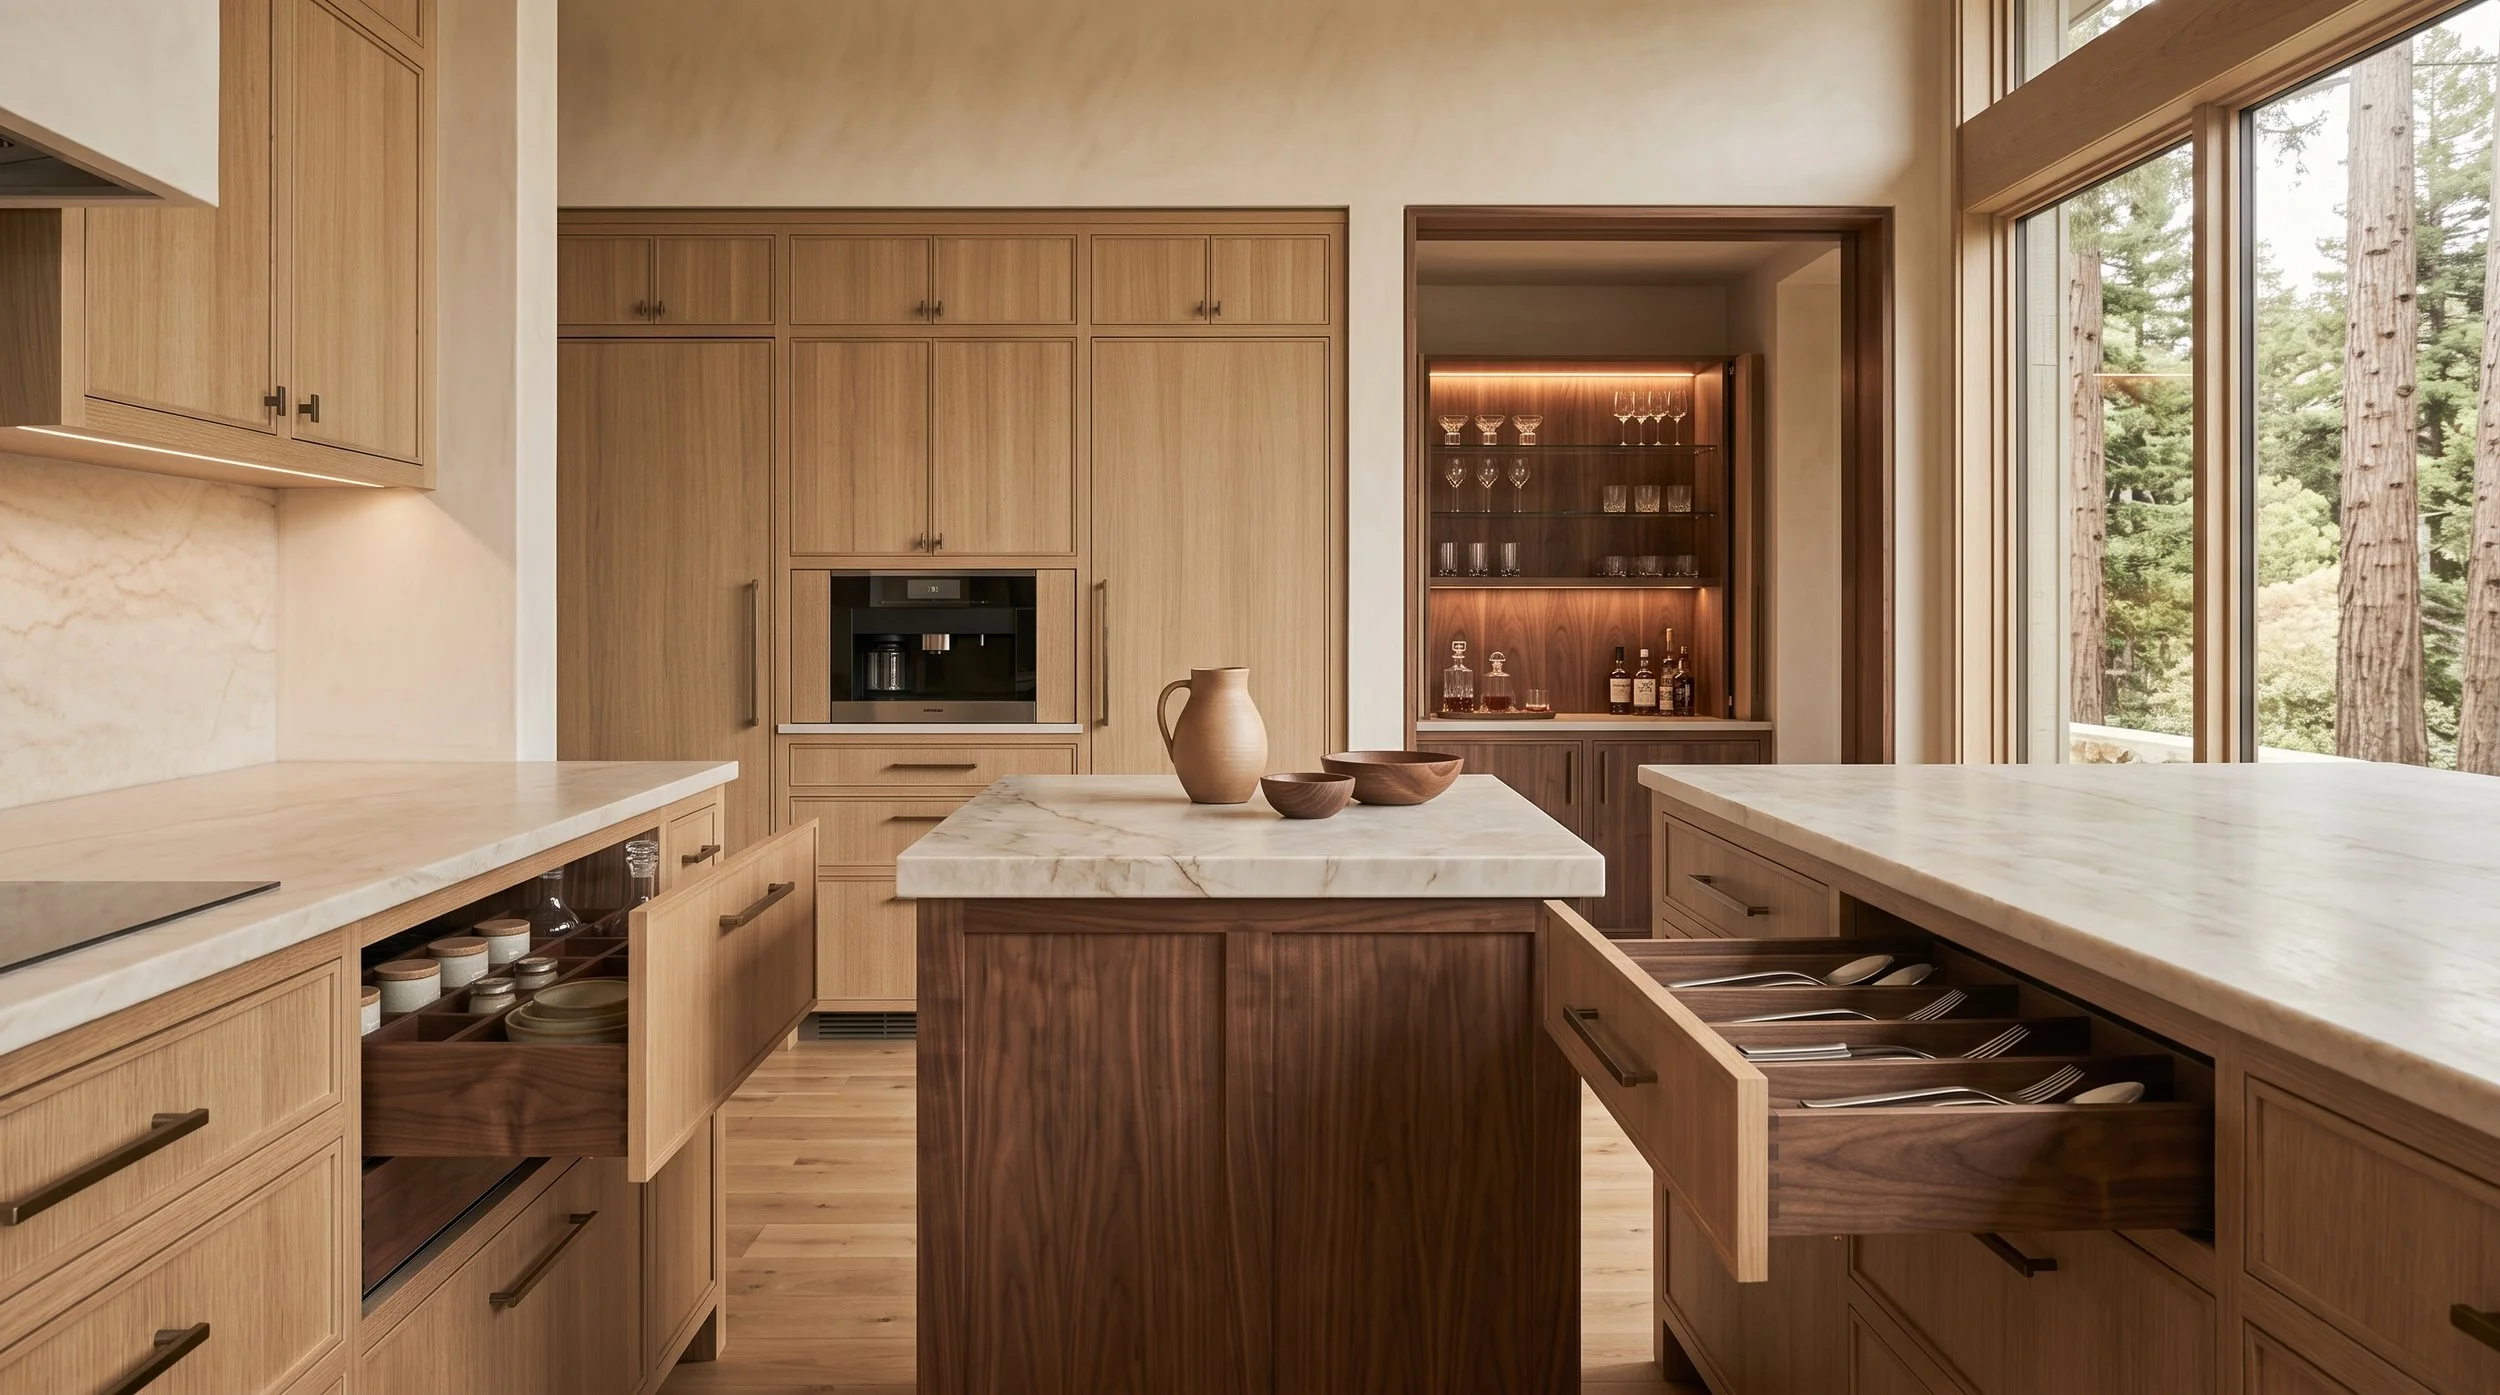
Once the layout is established, the material palette can become more specific. Natural woods such as white oak and walnut can introduce warmth and grain, while painted cabinetry can provide contrast or create quieter visual areas.
Cabinetry should be reviewed alongside flooring, stone, wall finishes, and hardware rather than selected independently. Exact matching is rarely necessary. What matters more is how undertones, grain, texture, movement, and finish relate.
Physical samples are particularly useful at this stage. Materials can change considerably depending on natural light and what sits beside them.
Step 5: Design the Cabinet Interiors
Custom cabinetry should solve problems on the inside as carefully as it addresses appearance on the outside.
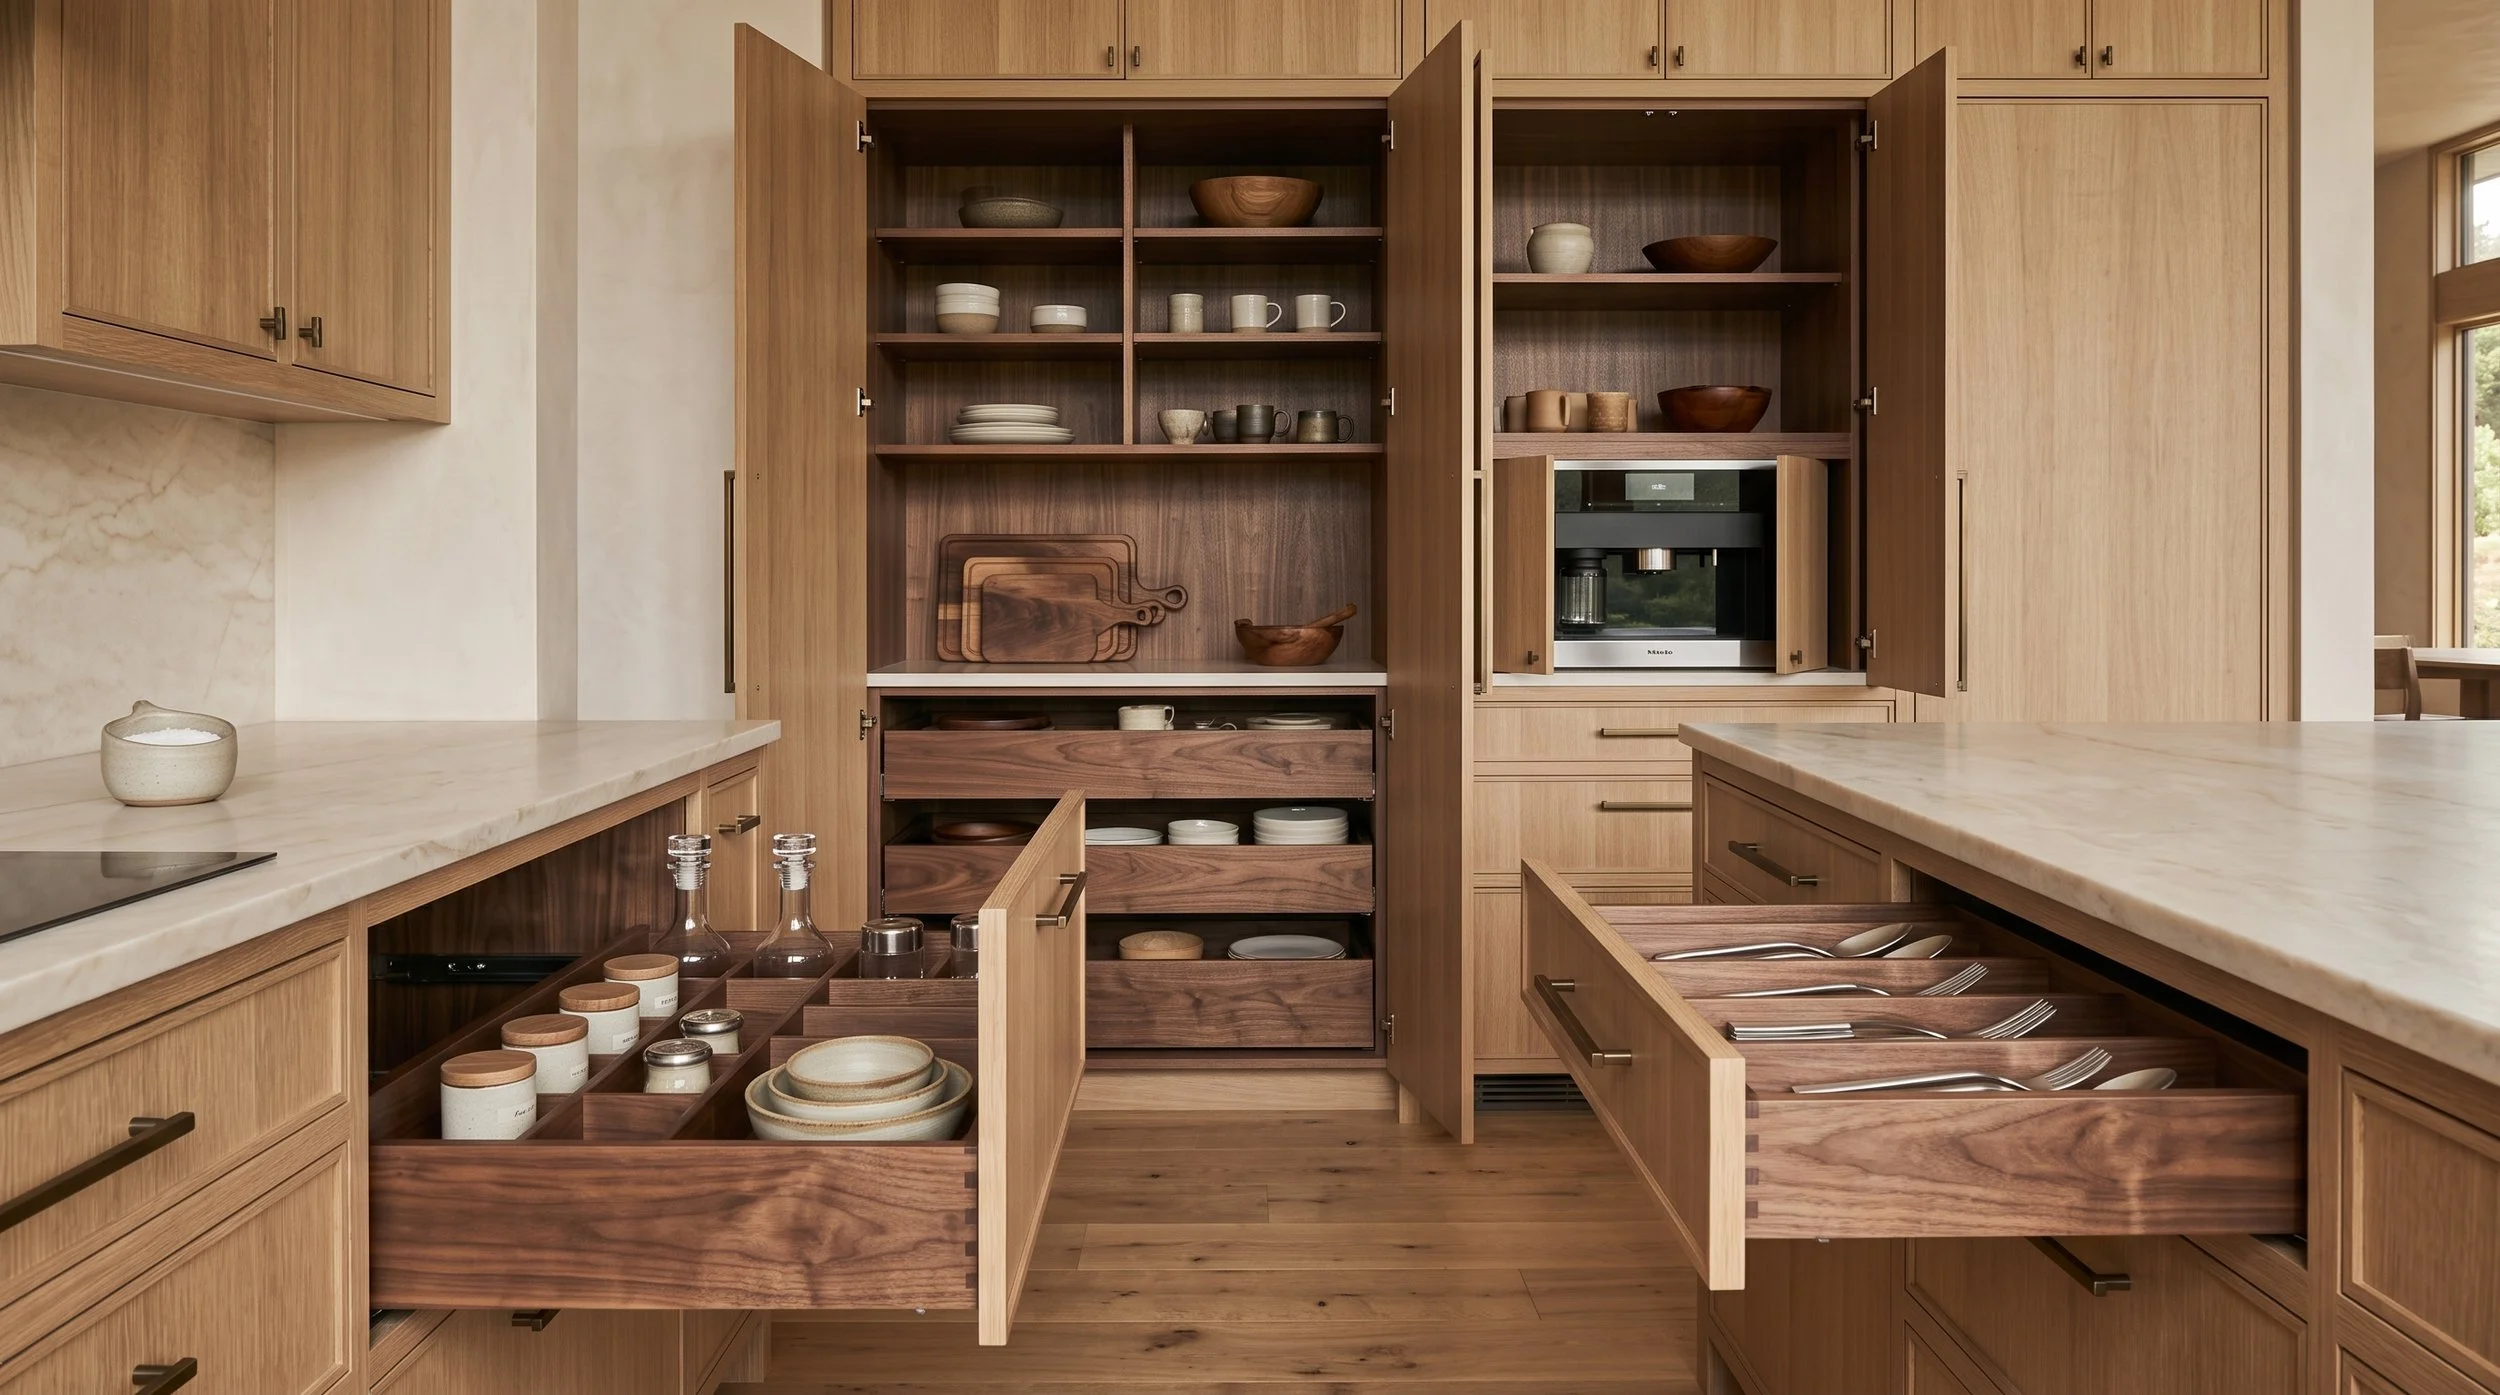
Kitchen storage might include deep drawers for cookware, pantry organization, concealed small appliances, recycling, serving pieces, and beverage storage. A wardrobe may require specific hanging heights, drawers, shelves, and accessory storage. A bathroom vanity needs an entirely different interior strategy.
Customization has the most value when it responds to real needs. Instead of adding every available accessory, prioritize the features that will improve how the room works every day.
Step 6: Review the Cabinetry Before Production
Before cabinetry is fabricated, the project team should confirm the information that affects production and installation. This includes dimensions, elevations, appliance specifications, door styles, finishes, cabinet interiors, panels, fillers, and other project-specific details.
Shop drawings are an important part of this process. They allow designers, builders, homeowners, and cabinetry professionals to review how the design translates into actual cabinetry.
This is also the time to verify relationships with stone, flooring, lighting, plumbing, electrical, and surrounding architecture. Resolving a dimensional issue on a drawing is considerably easier than discovering it during installation.
Step 7: Prepare the Site for Installation
Cabinetry installation depends on accurate site conditions. Walls, floors, ceilings, utilities, and appliance locations need to correspond with the approved cabinetry plan.
For remodeling projects, field conditions can sometimes differ from what was expected before construction began. Final verification before production or installation, when appropriate for the project, can help identify those changes.
The installation sequence should also be coordinated with flooring, stone templating, appliances, plumbing, electrical work, and finish work so that each trade can complete its portion without unnecessarily affecting another.
Step 8: Complete the Cabinetry With Stone, Hardware, and Lighting
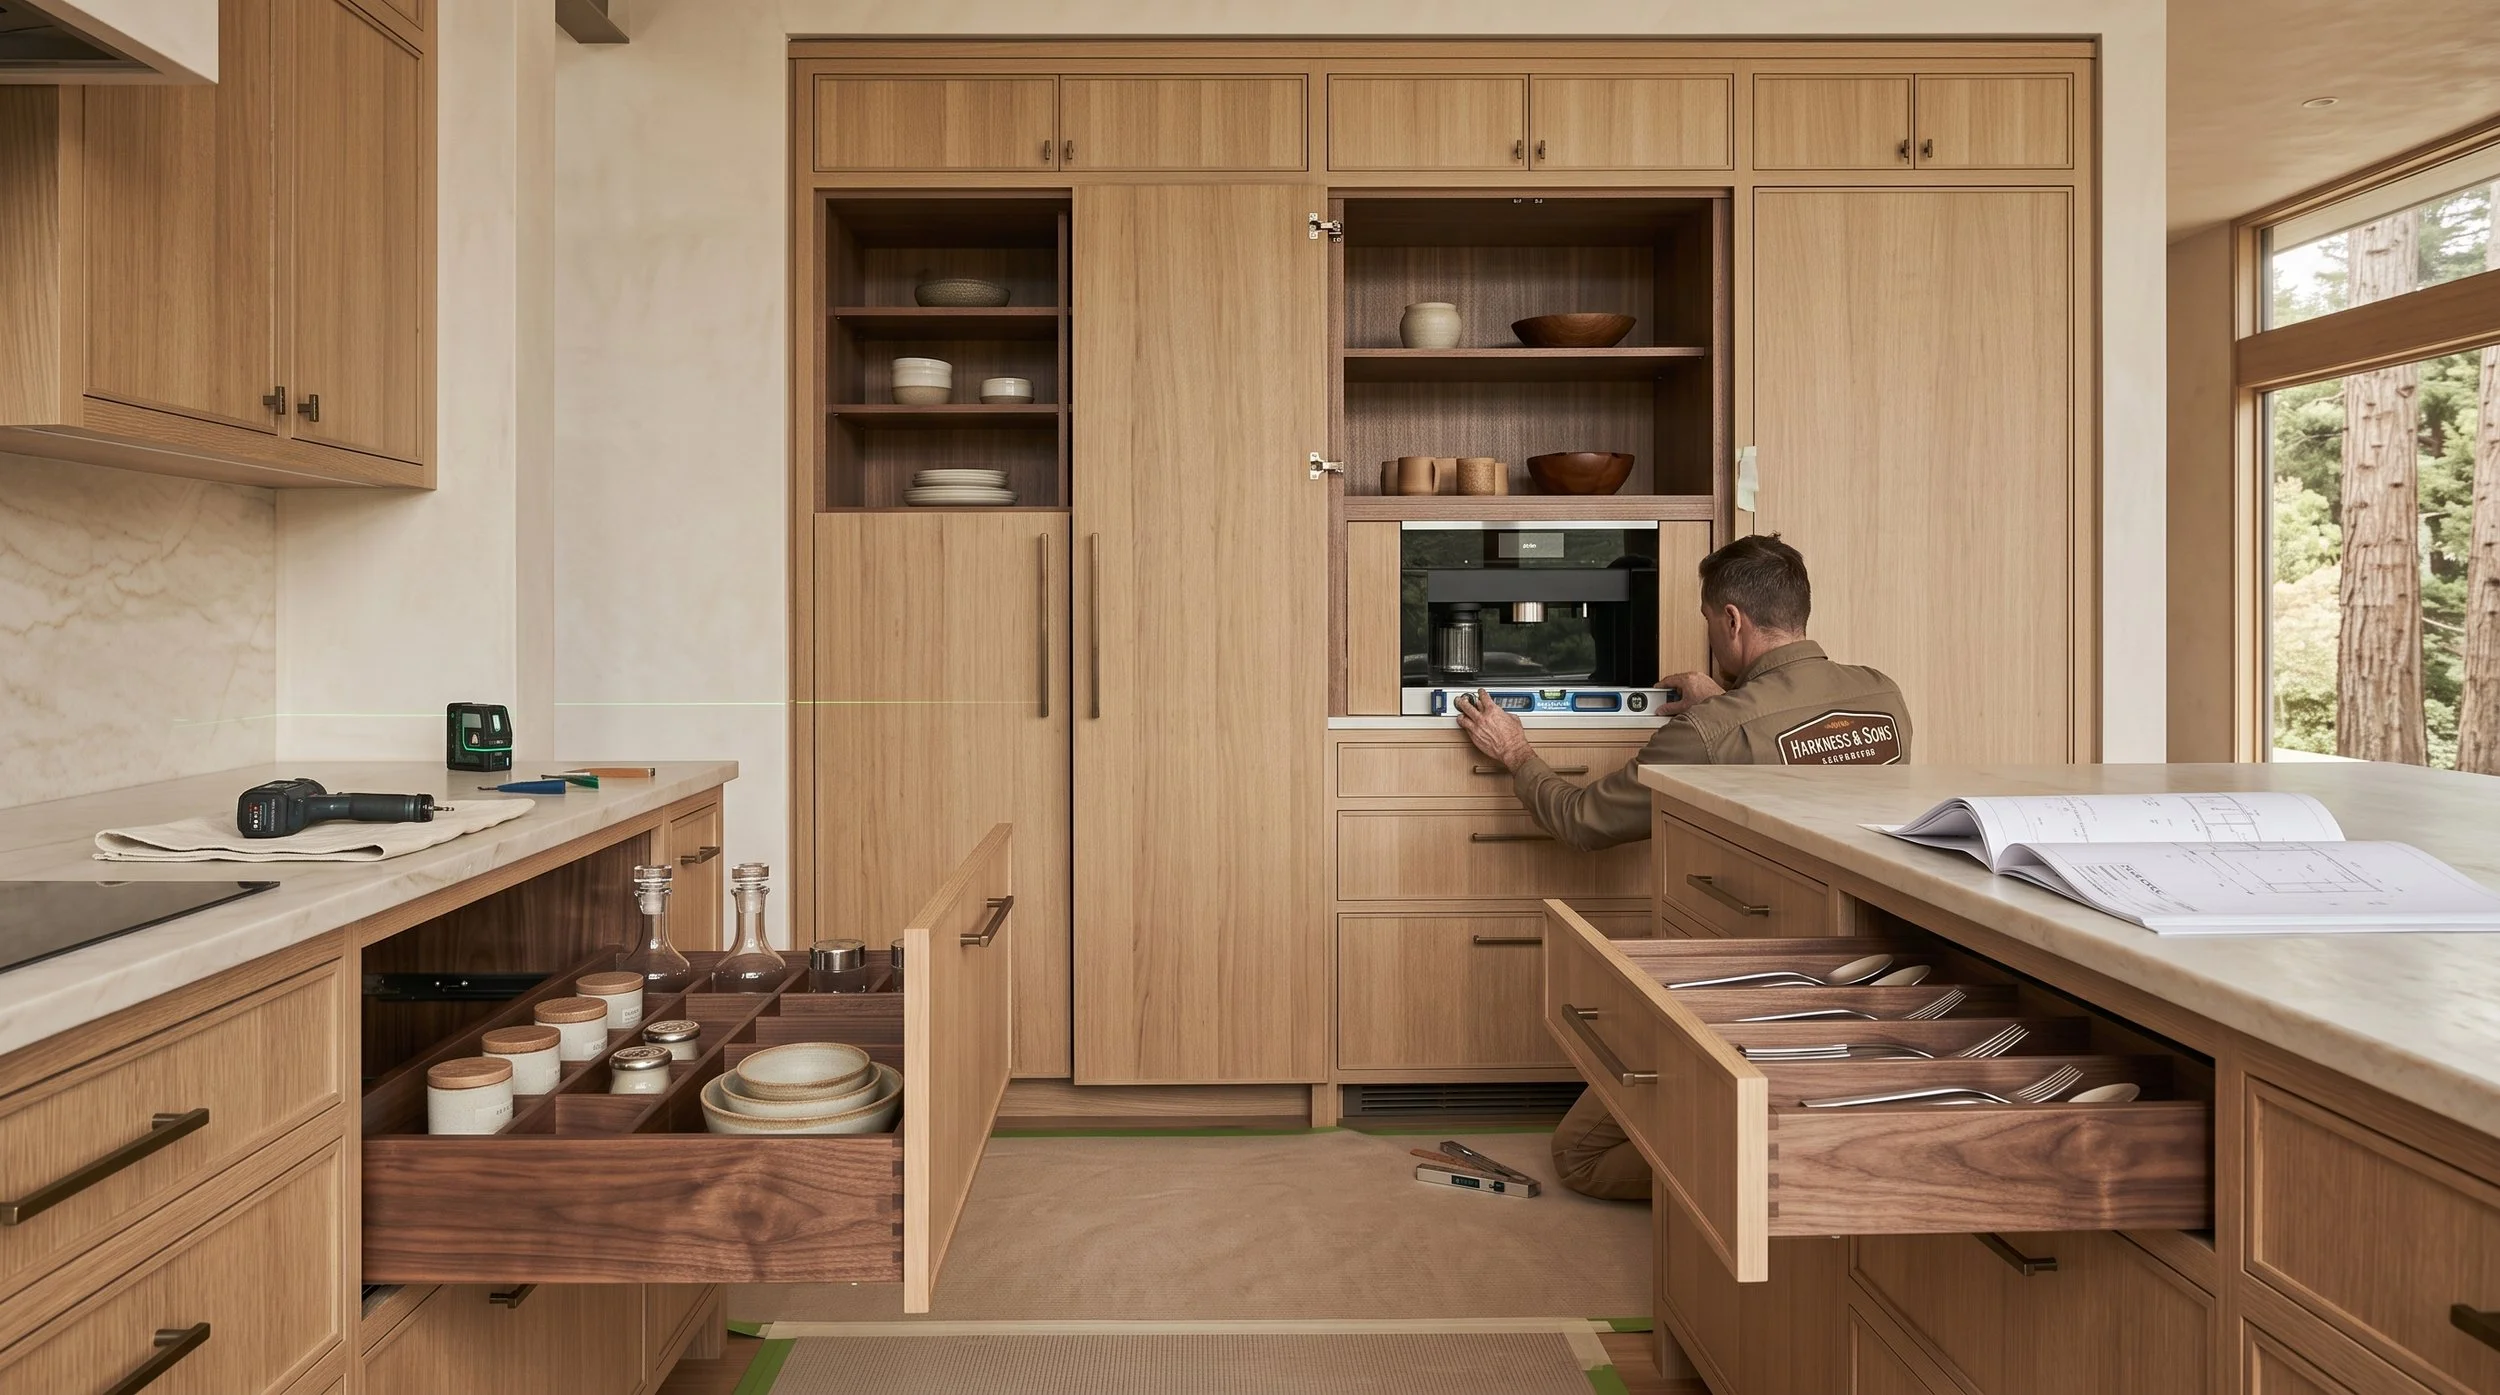
Installation is not the final visual step. Stone, hardware, appliances, lighting, plumbing fixtures, and surrounding finishes complete the cabinetry composition.
Details matter here. Consistent reveals, properly aligned doors and drawers, clean stone transitions, carefully positioned hardware, and integrated lighting can determine whether the finished cabinetry feels resolved.
The result should feel connected to the architecture rather than like a separate product installed inside the room.
Should You Plan Cabinetry Throughout the Home at the Same Time?
If a San Mateo project includes several rooms, there can be an advantage to developing the cabinetry as one coordinated package.
The kitchen might use white oak, while a bar introduces walnut and bathroom vanities use a complementary painted finish. A home office or media room can continue selected proportions or hardware details without copying the kitchen.
Planning these spaces together creates continuity while still allowing each room to have its own identity.
From Planning to Installation
Successful custom cabinetry is the result of a connected process. Planning establishes the architecture and function. Design determines proportions, storage, materials, and technical requirements. Documentation translates those decisions into something that can be fabricated accurately. Installation brings everything together on site.
Starting early gives the project team more opportunity to coordinate those stages rather than solving conflicts after decisions have already been made.
For San Mateo homeowners, the goal is ultimately simple: cabinetry that fits the home, supports everyday life, and feels intentionally integrated into the architecture.
Plan Your San Mateo Cabinetry With Atelier Design Society
Atelier Design Society works with homeowners, architects, interior designers, builders, and other design professionals planning premium cabinetry for San Mateo homes and residences throughout the Bay Area. At the Atelier Design Society showroom in Menlo Park, project teams can compare cabinetry construction, natural woods, painted finishes, stone, hardware, interiors, storage solutions, and full-scale installations while developing the project from early planning through final specification.