From Cabinet Door to Stone Slab: How to Build a Material Palette at Atelier
A strong kitchen material palette rarely comes from choosing finishes one at a time. Cabinetry, stone, hardware, flooring, and surrounding finishes influence one another, so the most useful way to evaluate them is together.
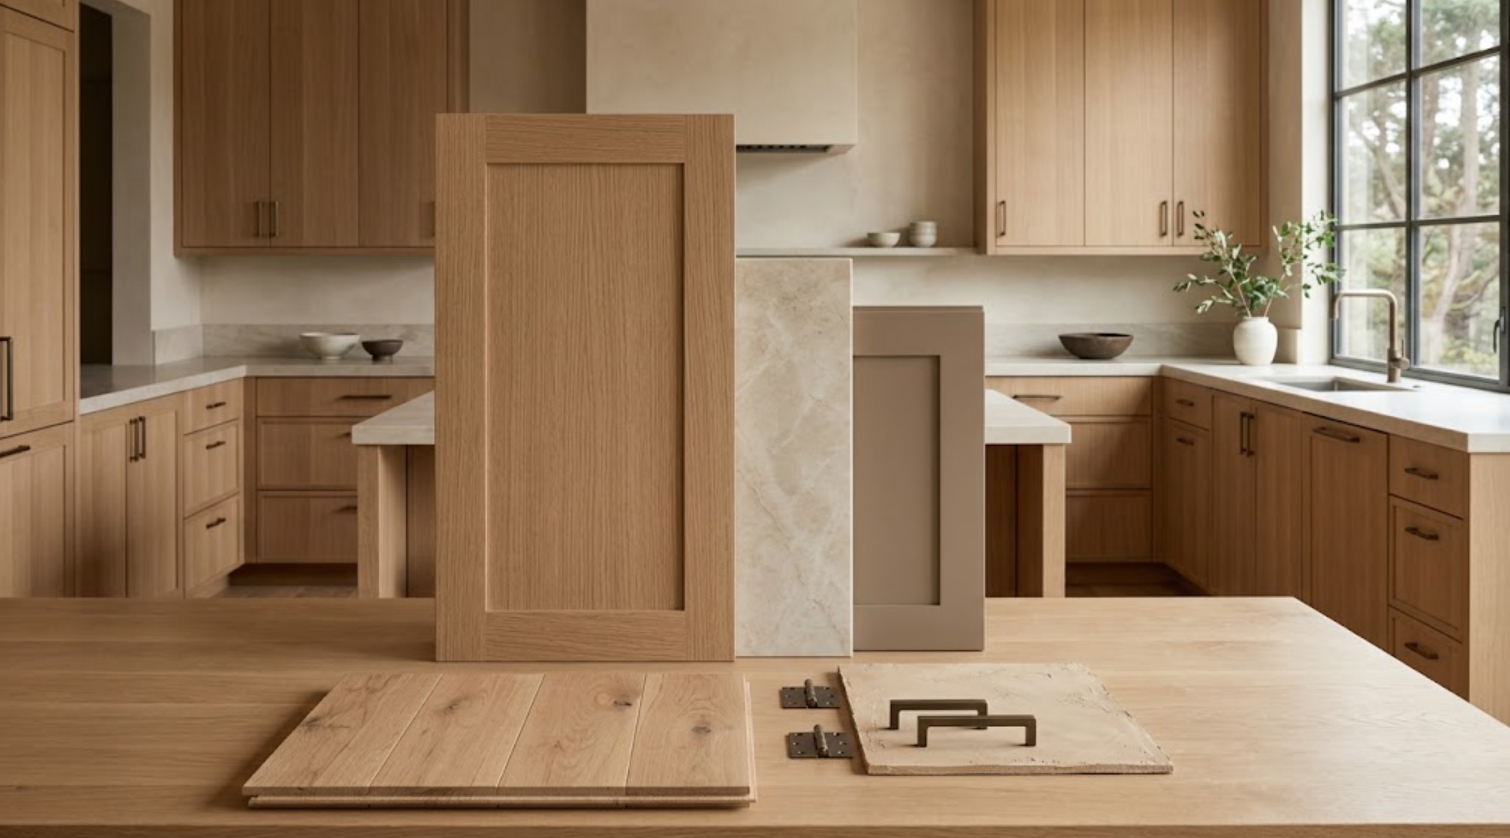
At Atelier Design Society, that process can begin with something as simple as a cabinet door. The door establishes color, grain, construction, and finish. From there, stone and supporting materials can be layered around it until the palette begins to represent the actual room rather than a collection of individual samples.
The goal is not to make everything match. It is to understand which material should lead, which should support it, and how the complete palette will translate into the architecture.
Step 1: Start With the Cabinet Door
Cabinetry is a useful starting point because it occupies significant visual space in a kitchen. A full-size door sample reveals much more than a small finish chip. It shows grain direction, color variation, door profile, sheen, and the way light interacts with the finish.
For natural wood cabinetry, evaluate the actual species and finish rather than relying on a generic reference. Rift-cut white oak can range from pale and restrained to noticeably warm. Walnut can vary in depth and grain. Painted cabinetry also changes depending on surrounding materials and lighting.
Before moving forward, establish what role the cabinetry should play. Is it the dominant material, or should it create a quieter architectural background for a more expressive stone?
Step 2: Bring Stone Into the Conversation
Once the cabinetry direction is established, compare it directly with countertop options. Look beyond basic color and consider undertone, movement, texture, and visual weight.
A highly figured natural stone may become the focal point of the kitchen. If so, the cabinetry may need to remain quieter. If the cabinetry has significant natural grain or architectural detailing, a more restrained surface may create better balance.
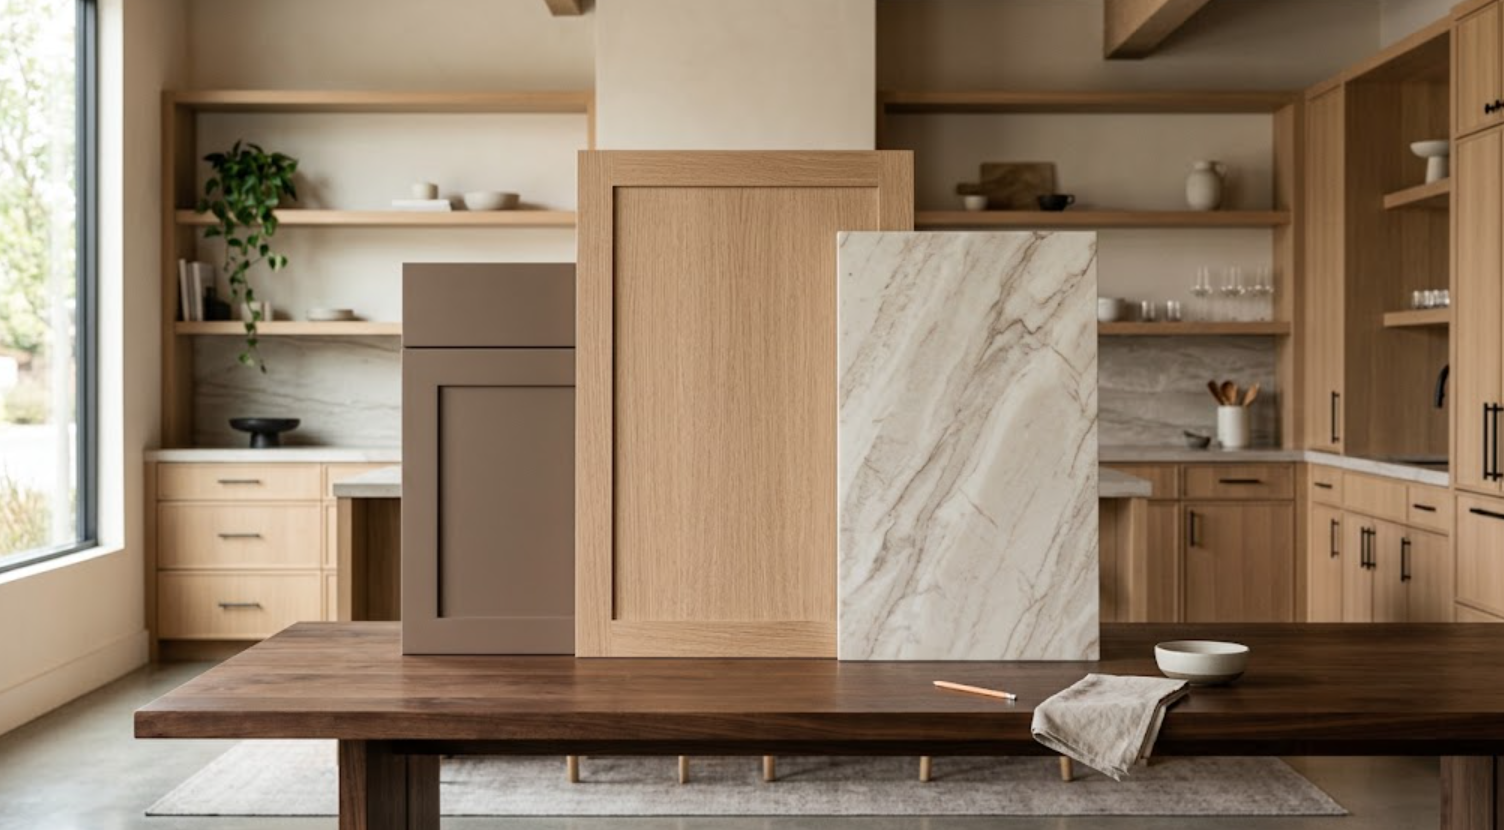
This is also where physical samples become important. A warm white stone can behave very differently beside white oak than a cooler white. Cream, taupe, gray, and mineral tones may become more noticeable once the materials touch.
Step 3: Compare Undertones Before Colors
Two materials can both be described as warm and still look wrong together. That is why designers look closely at undertones.
Place the cabinet door directly beside the stone. Does the stone make the wood appear unexpectedly yellow? Does a cool gray surface flatten the warmth of walnut? Does a creamy countertop connect naturally to the cabinetry, or does it become too similar?
The materials do not need identical undertones. They simply need a deliberate relationship.
Step 4: Decide How Much Pattern the Room Can Hold
Wood grain and stone veining are both patterns. So are flooring, tile, and wallcoverings.
If a kitchen uses expressive walnut cabinetry, dramatic stone, heavily varied flooring, and a patterned backsplash, there may be too many competing elements. Designers control this by establishing hierarchy.
For example:
Expressive stone + quiet cabinetry: useful when the slab is the focal point.
Strong natural wood + restrained stone: allows cabinetry grain to lead.
Painted cabinetry + natural stone: creates more room for stone movement.
Quiet cabinetry + quiet stone: relies on texture, proportion, and architecture for depth.
The goal is balance, not maximum visual interest.
Step 5: Add Flooring to the Palette
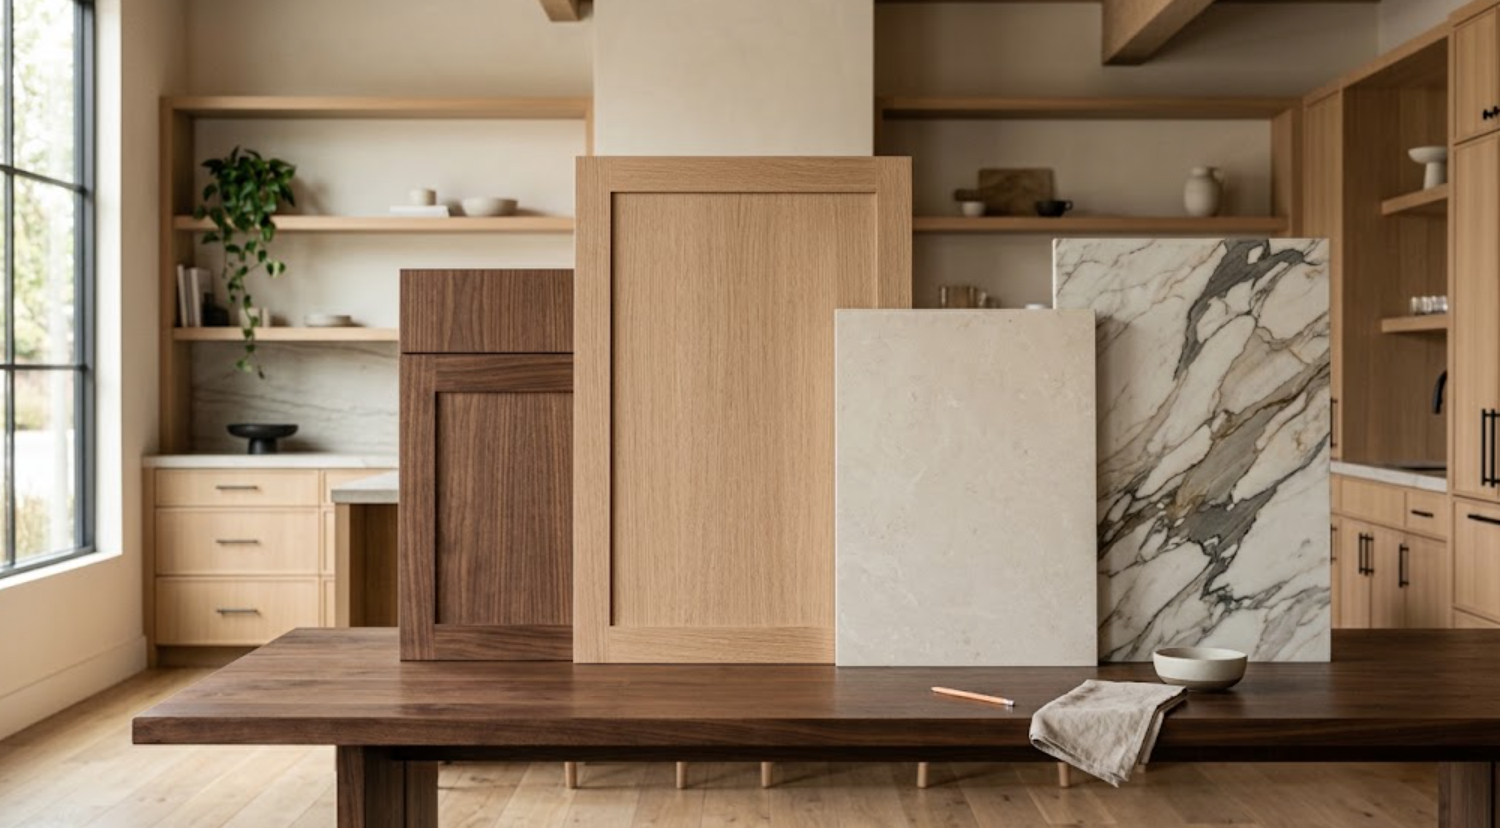
Flooring affects everything above it, especially when both the flooring and cabinetry are wood.
The goal is rarely an exact match. Instead, compare value, undertone, and grain. Pale white oak cabinetry may work with a slightly deeper oak floor. Controlled rift-cut cabinet grain can sit comfortably above flooring with more natural variation.
If the existing flooring will remain during a remodel, bring a sample or accurate reference into the cabinetry process early. It is easier to adjust a cabinet finish before it is finalized than to discover an undertone conflict after installation.
Step 6: Introduce Hardware and Metal
Hardware may be physically small, but it repeats across the cabinetry and becomes part of the elevation.
Place actual hardware directly against the cabinet door. Aged bronze may add warmth and definition to white oak. Darkened metal can create stronger contrast. Nickel or another cooler metal may work when it connects to plumbing, appliances, or lighting.
Also consider scale. The right finish on the wrong size pull can still feel disconnected from the cabinetry.
Step 7: Add the Wall Finish
Paint, plaster, tile, or wallcovering creates the background around the cabinetry. It can subtly change how both wood and stone appear.
A warm plaster may soften the transition between white oak and creamy stone. Crisp white can create stronger definition. A woven wall treatment can introduce texture without adding another hard pattern.
At this stage, the palette should begin to resemble the finished kitchen rather than a collection of product samples.
Step 8: Evaluate Texture and Sheen
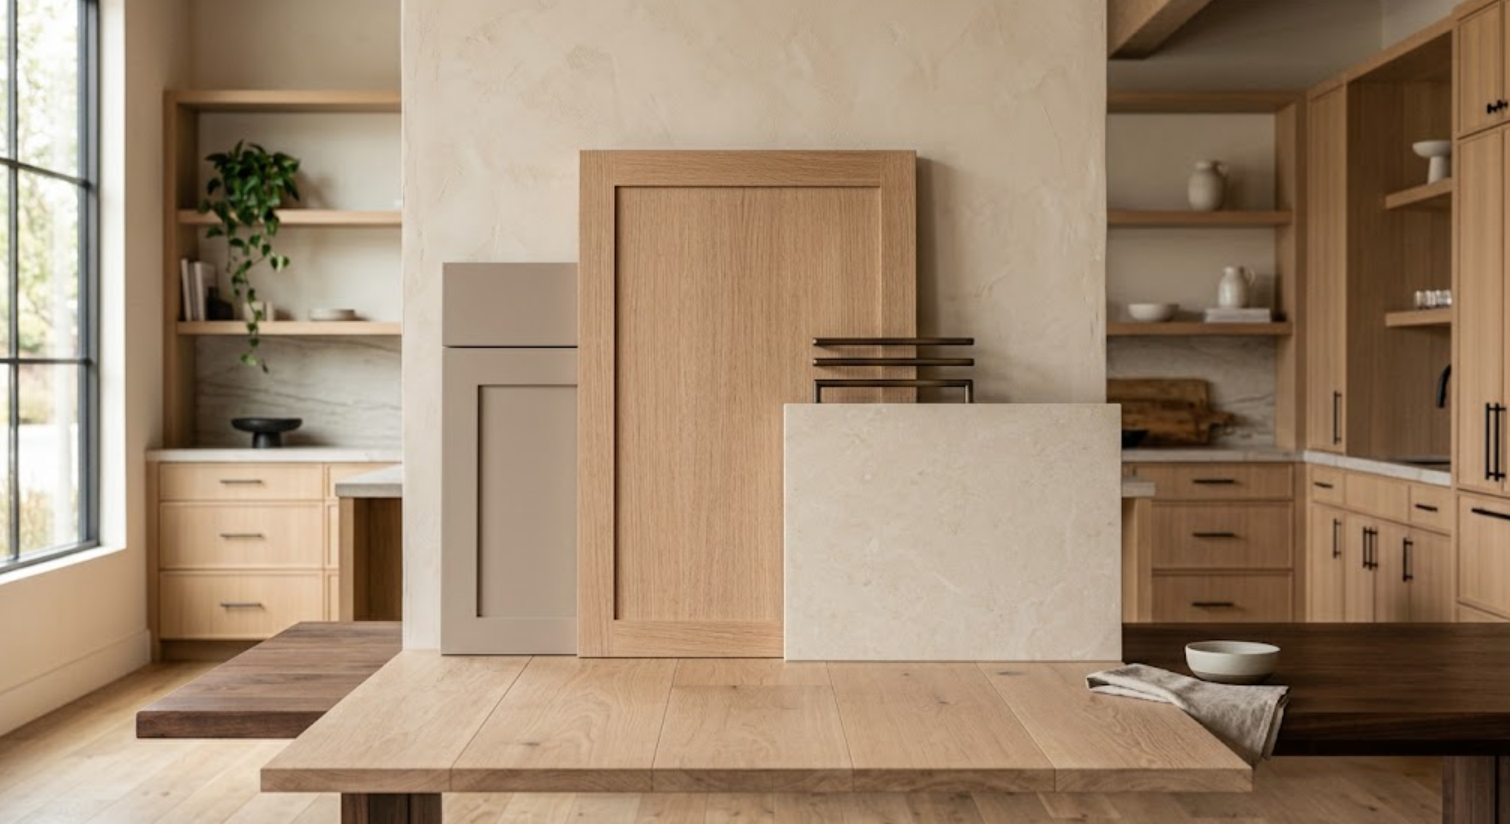
Once the colors work, look at how the surfaces feel together. A palette of similar warm neutrals can still have considerable depth when the textures are different.
White oak contributes grain. Honed stone provides mineral texture. Plaster adds subtle variation. Bronze introduces controlled reflection. Painted cabinetry creates a smoother visual pause.
Sheen matters too. Too many polished surfaces can make a kitchen feel visually active, while an entirely matte palette may need a small amount of reflection for depth.
Step 9: Review the Materials Under Different Light
Material color is not fixed. Natural wood, stone, paint, and metal can all shift depending on daylight and artificial lighting.
Review the palette under natural light whenever possible, then consider how it will behave in the evening. Warm integrated cabinet lighting can deepen walnut and cream tones. Strong daylight may reveal undertones that were difficult to see under artificial showroom lighting.
This is especially important in Bay Area homes with large windows and strong connections to the landscape.
Step 10: Move From Samples to Architectural Scale
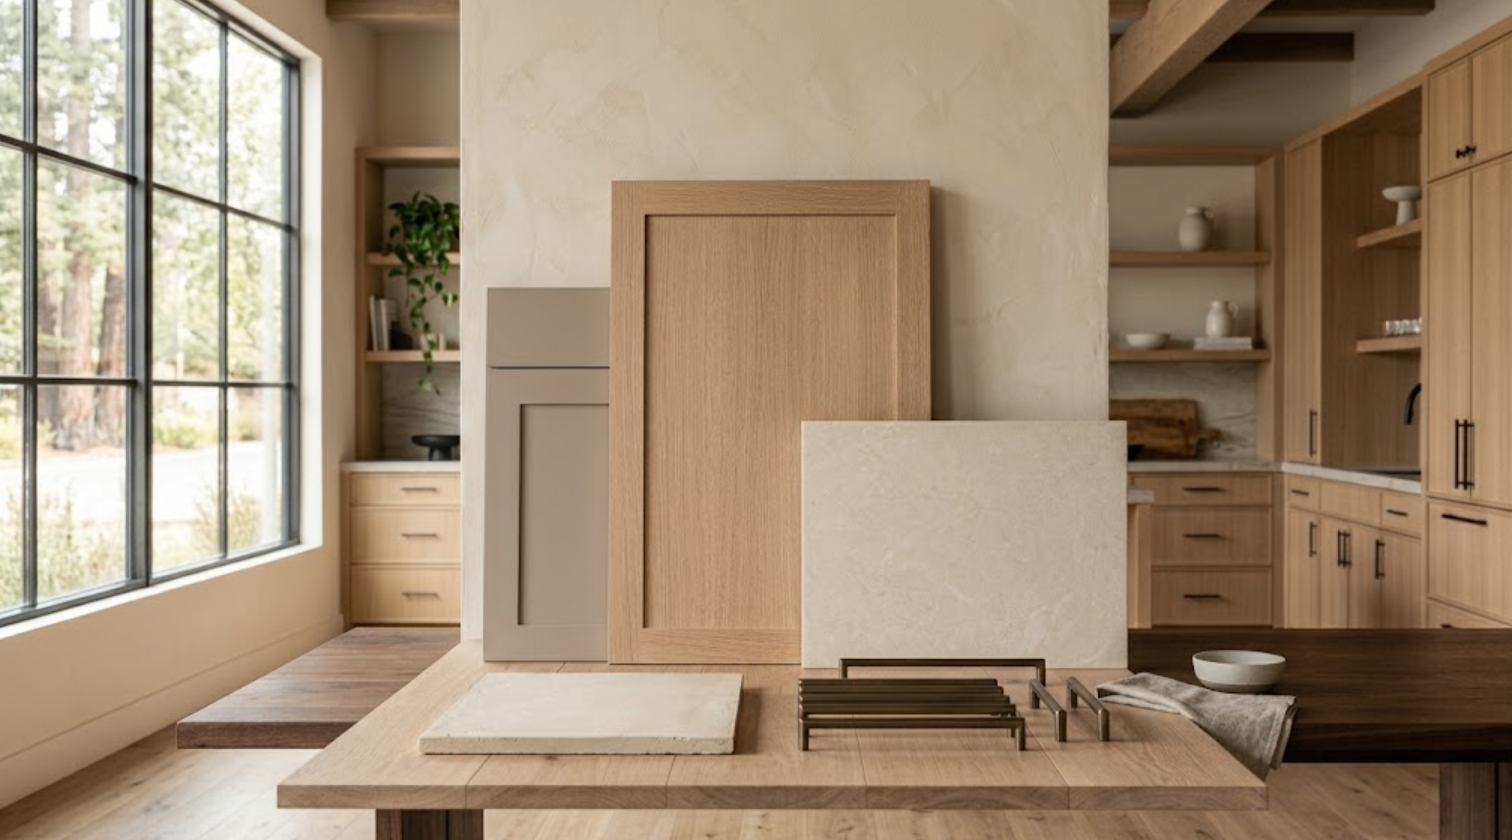
A material palette should eventually be evaluated beyond the tabletop. A cabinet door needs to be imagined across an entire wall. Stone should be viewed as a full slab when possible. Flooring should be considered across the room rather than as a single plank.
Full-scale cabinetry displays are particularly useful because they reveal proportion, hardware placement, door relationships, interior details, and the way materials change when repeated.
This is where a palette either becomes convincing or needs another round of editing.
What Should You Bring to a Material Selection Meeting?
You do not need every finish finalized before beginning. Bring whatever is already established so new selections can respond to real project conditions.
Useful materials include:
Architectural plans or cabinetry elevations
Flooring sample
Stone sample or slab photographs
Paint or plaster references
Appliance selections
Plumbing finish
Hardware references
Inspiration images that clearly communicate the intended atmosphere
The more project-specific information available, the easier it becomes to eliminate materials that do not support the design.
How Do You Know When the Palette Is Finished?
A finished palette should have a clear hierarchy and enough contrast to distinguish each material without making them compete. Cabinetry and stone should relate naturally. Flooring should ground the room. Hardware should reinforce the cabinetry. Wall finishes should support the larger materials rather than introduce unnecessary distraction.
If something feels unresolved, adding another material is rarely the first solution. Remove the piece that is competing, reconsider its undertone, or simplify the palette. A cohesive kitchen often comes from editing rather than adding.
From Cabinet Door to Stone Slab: Building the Palette at Atelier
Building a kitchen palette is a process of comparison. Start with the cabinetry, introduce stone, evaluate undertones and pattern, then layer in flooring, metals, and wall finishes. Review the materials under realistic lighting and at the largest practical scale before final approval.
Atelier Design Society brings those decisions into one environment so cabinetry can be evaluated alongside the materials that will ultimately surround it. The purpose is not to make every finish match. It is to understand how each material contributes to the finished architecture.
Build Your Material Palette With Atelier Design Society
Atelier Design Society works with homeowners, architects, interior designers, builders, and other design professionals developing cabinetry and material palettes for sophisticated Bay Area residences. At the Atelier Design Society showroom in Menlo Park, project teams can compare cabinetry materials, natural woods, painted finishes, stone, hardware, and related architectural finishes together rather than making those decisions in isolation.
Bring plans, existing material selections, stone references, flooring, hardware, and other project finishes when available. From the first cabinet door to the final stone direction, the goal is to create a palette that works as one complete composition.